Emergency Fund Starter Guide: First $100, $500, and $1,000
Last updated: 3 May 2026
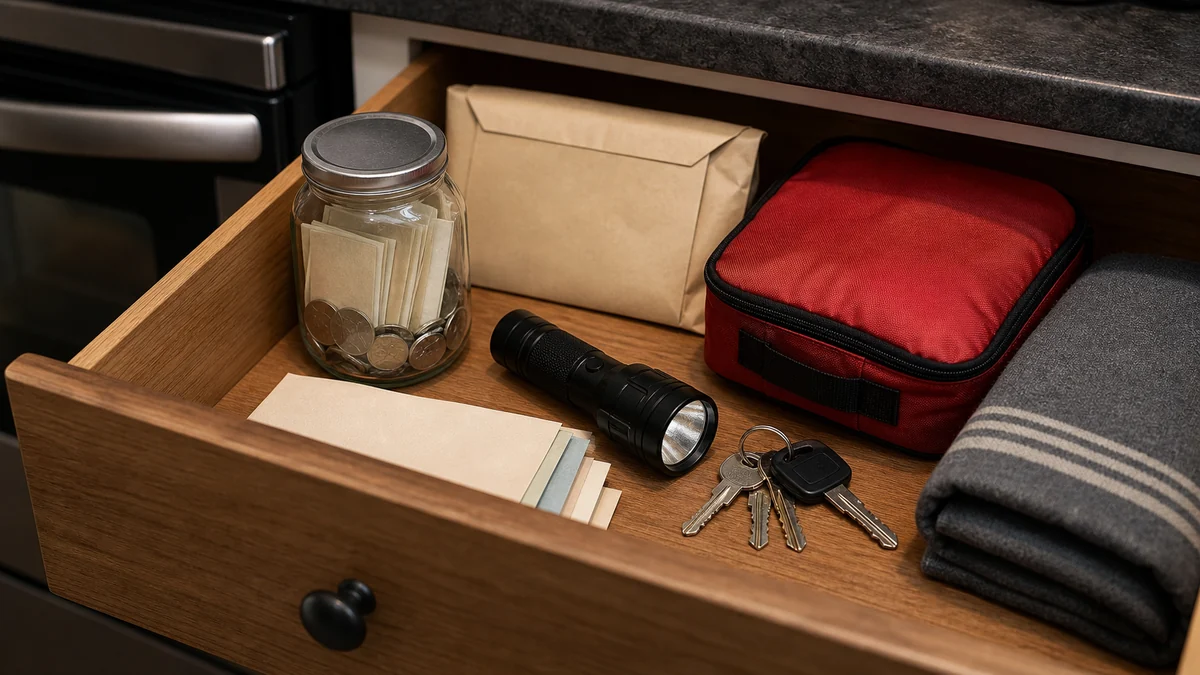
An emergency fund does not have to start with a huge number. The first useful goal is often a small buffer that stops one problem from becoming three problems.
Start with the emergency fund calculator to estimate your essential-cost target. Then use the budget calculator to see what is left after essentials. If debt payments are already squeezing the month, check the debt payoff calculator before sending every spare amount to savings or debt.
Use dollars as a simple label here. If you use another currency, keep the same stages in your own money: first 100, then 500, then 1,000.
Bank accounts, benefits rules, debt collection rules, emergency support, and account fees vary by country and provider. Check local details before moving benefit money, changing debt payments, closing an account, or using savings that could affect support.
What an emergency fund is for
A starter emergency fund is for real disruptions, not normal spending. Examples:
- Urgent transport to work
- Medicine, health needs, or essential appointments
- Replacing a basic phone charger, work item, or essential household item
- A small utility top-up or bill timing problem
- Food for a few days when income arrives late
- A repair that prevents a bigger problem
It is not for treats, planned shopping, subscriptions, or expenses you know are coming. Those need separate budget categories where possible.
Before you start: protect essentials
Do not build savings by skipping essentials. Cover food, housing, utilities, transport to work, health needs, childcare, required payments, and minimum debt payments first.
If you cannot cover enough food, use the grocery savings calculator and check local food support options. If the whole month does not fit, use the save money hub to review safer cuts before touching essential needs.
Worked example: first $100, then $500, then $1,000
Imagine someone has 1,800 in essential monthly costs, 60 already saved, and can usually save 40 per month. A full 1-month fund is far away, so the first plan is staged:
- First $100: add 40 this month to reach a small transport, food, or medicine buffer.
- Then $500: keep saving 40 monthly and add any one-time extra money, such as a refund or unused subscription amount.
- Then $1,000: keep the 500 separate, add the next 500 slowly, and pause increases if essentials become unsafe.
The numbers are only an example. Use your own currency, local costs, pay timing, household needs, and debt pressure.
Stage 1: First $100
The first 100 is about stopping tiny emergencies from becoming expensive. It can cover a short food gap, urgent transport, a small repair, or a bill timing issue.
How to build it:
- Choose the specific problem this first buffer should cover, such as transport, medicine, phone credit, or a small food gap.
- Move a small amount on payday before other flexible spending.
- Save money from one cancelled subscription or unused service.
- Put grocery savings into the buffer instead of letting them disappear.
- Use a small one-off refund, sale, or overtime payment if one appears.
- Keep it separate from everyday spending, even if it is just a different account or labelled pot.
- Write down when you would use it and when you would not use it.
If 100 is too much right now, start with 20 or 50. The point is to create a small barrier between you and the next problem.
Stage 2: First $500
The first 500 gives more room for common disruptions: a larger repair, several food shops, a delayed paycheck, medical costs, or travel for an urgent family need.
How to build it:
- Set a repeat transfer that is small enough to keep.
- Review grocery waste, subscriptions, and takeaways once per month.
- Save part of any extra income after fees and taxes.
- Choose a simple rule, such as half of refunds or bonuses to the buffer.
- Use the emergency fund calculator to compare this stage with one month of essential expenses.
- Rebuild it immediately after a real emergency, even if slowly.
At this stage, debt decisions matter. If you have high-interest debt, you may split spare money between minimum debt payments, a starter buffer, and extra debt payoff. The right split depends on your risk, interest rates, and whether a small emergency would push you into more borrowing.
Stage 3: First $1,000
The first 1,000 is still not a full emergency fund for many households, but it can reduce panic when something breaks, hours drop, or several costs arrive together.
How to build it:
- Keep the 500 buffer separate and add a second goal for the next 500.
- Move savings automatically where possible.
- Put planned savings in the budget as a bill to yourself.
- Use budget reviews to find small repeat savings, not just one-off cuts.
- Keep minimum debt payments and essentials current before increasing the transfer.
- Pause increases if essentials become unsafe, then restart when the month stabilizes.
Once you reach this stage, decide what comes next: larger emergency savings, extra debt payoff, irregular bill funds, moving costs, or another priority.
Where to keep the money
Keep emergency money accessible but not too easy to spend by accident. Options vary by country and banking access, but the principle is the same:
- A separate savings account
- A labelled pot or space inside your bank app
- A different account from your main spending account
- A small cash amount for situations where cards or transfers are not practical
Avoid putting emergency money somewhere volatile, locked away for too long, or hard to access in the kind of emergency you are preparing for.
What to use it for
Before spending the buffer, ask:
- Is this urgent?
- Is this necessary for safety, work, food, housing, health, or basic life?
- Will delaying it create a bigger cost?
- Is there a cheaper safe option?
- How will I rebuild the buffer afterward?
If the answer is no, it may be a planned expense rather than an emergency.
Emergency fund vs debt payoff
This is a real tradeoff. Extra debt payments can reduce interest, but no buffer can force you back into borrowing when life happens.
A practical sequence for many people is:
- Cover essentials and minimum payments.
- Build a small starter buffer.
- Use extra money toward high-pressure debt or high-interest debt.
- Rebuild the buffer after using it.
- Increase the buffer when the debt pressure is lower.
If debts are already in collections, payments are unaffordable, or you are missing essentials, consider qualified local debt help before choosing a strategy.
How to find the first small amounts
Look for repeatable small changes before painful cuts:
- Cancel one subscription you do not use.
- Reduce one grocery waste habit.
- Cook one extra packed lunch or leftover meal each week.
- Move a tiny amount on payday before flexible spending.
- Sell one item you do not need if it is safe and not essential.
- Save part of any side hustle profit after fees and taxes.
If there is truly no spare money after essentials, the answer may be local support, income improvement, debt help, or lower fixed costs rather than more willpower.
Next step
Use the emergency fund calculator to estimate your essential-cost target, then use the budget calculator to choose a small monthly buffer amount. If debt payments are the pressure point, check the debt payoff calculator. If food spending is the easiest place to start, run the grocery savings calculator and use the save money hub for more practical cuts.
Related reading
Emergency Budget: What to Cut First When Money Is Tight
A practical emergency budget checklist for protecting essentials, cutting safer categories first, and avoiding choices that create bigger pressure.
How to Build an Emergency Fund on a Low Income
Build a starter emergency fund with small repeatable steps, essential-cost checks, food budget reviews, and debt-payment tradeoffs.